Installing VEX STEPmaker on Windows
Before installing VEX STEPmaker, you need to download and install FreeCAD 1.0.0.
Download and install FreeCAD 1.0.0

Download and install FreeCAD 1.0.0.
Ensure that the FreeCAD folder is located under C:\Program Files\FreeCAD 1.0.
(If FreeCAD is not installed in the default path, you can refer to this guide to update the path and ensure VEX STEPmaker works correctly.)
Download the Installer

Install VEX STEPmaker

Select the VEX STEPmaker Installer icon to begin installation.
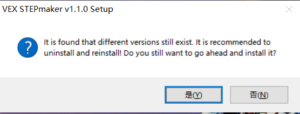
If there is a previous version of VEX STEPmaker on the computer, the installer will first uninstall the old version of VEX STEPmaker. Select OK.
Note: You might have to grant permission for the app to make changes to your computer.
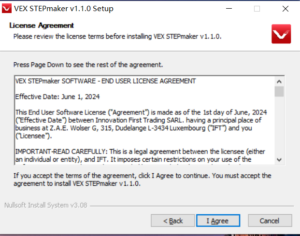
The License Agreement will appear. After you have finished reading, select I Agree.
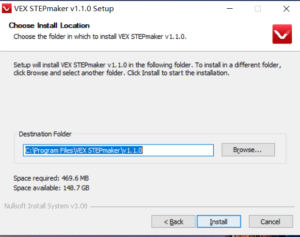
You can choose the installation path, or keep the default path and select Install.

Wait for the installation to complete, then select Finish.

Launch VEX STEPmaker using the desktop shortcut.
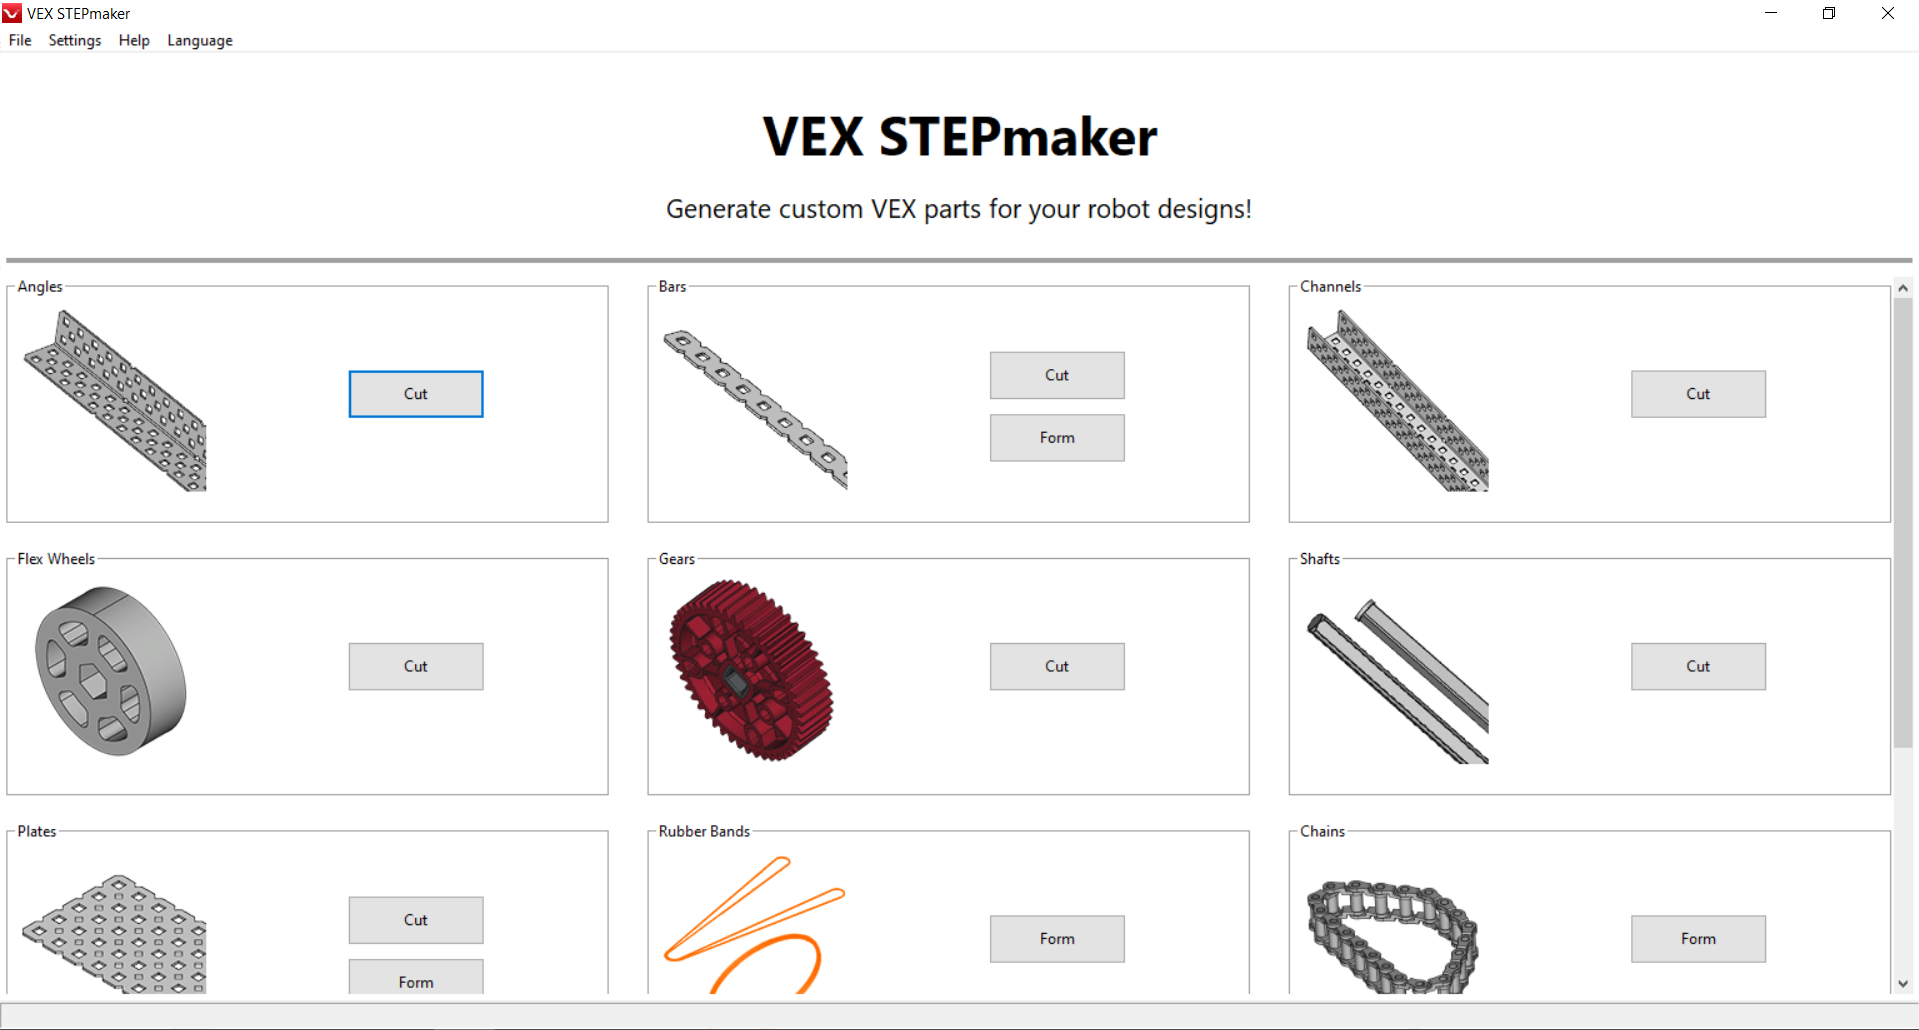
Begin working in VEX STEPmaker.
Ensure the FreeCAD path is configured correctly in VEX STEPmaker
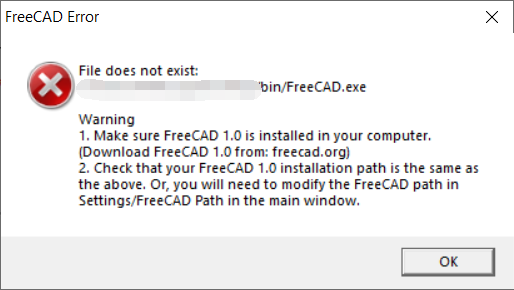
If your FreeCAD installation path is not the default C:\Program Files\FreeCAD 1.0, you will see the error shown in the figure.
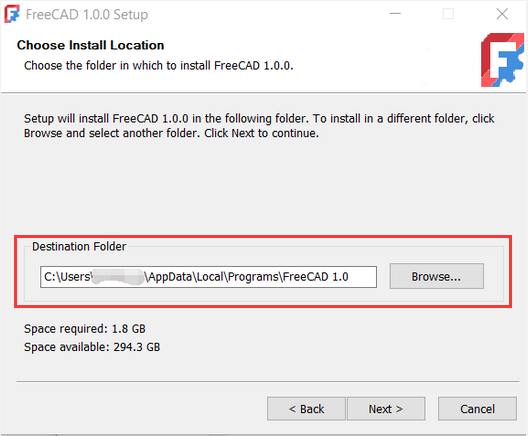
Keep a note of the FreeCAD installation path.
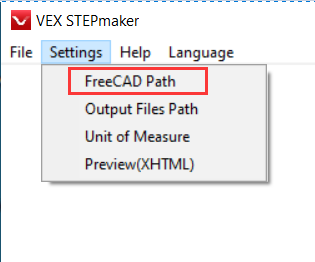
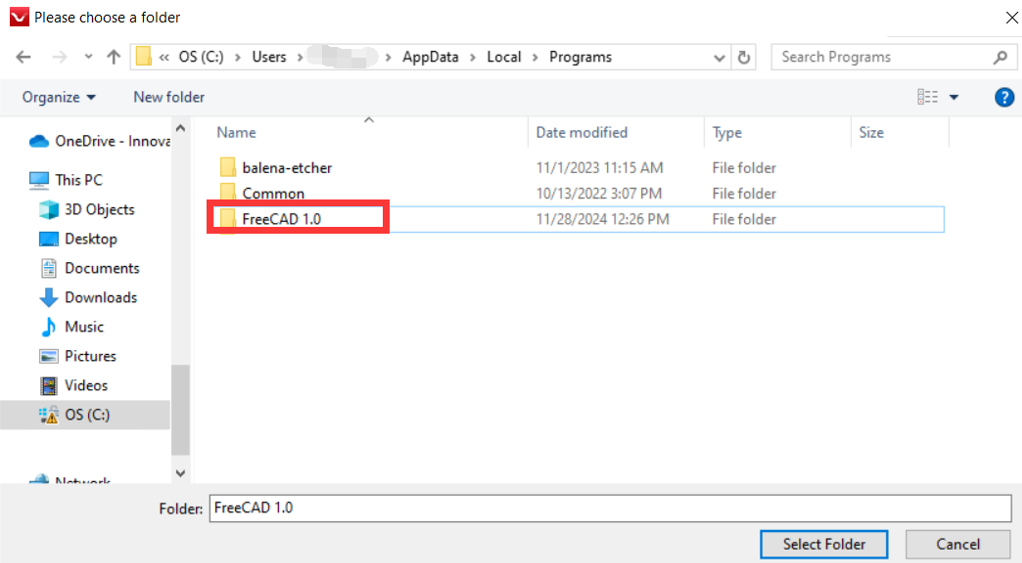
Go to Settings->FreeCAD Path.
Then select the path you noted in the previous step.
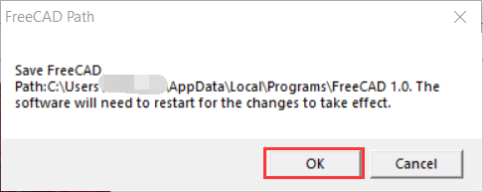
You will be prompted that you have updated the FreeCAD path and need to restart the software.


